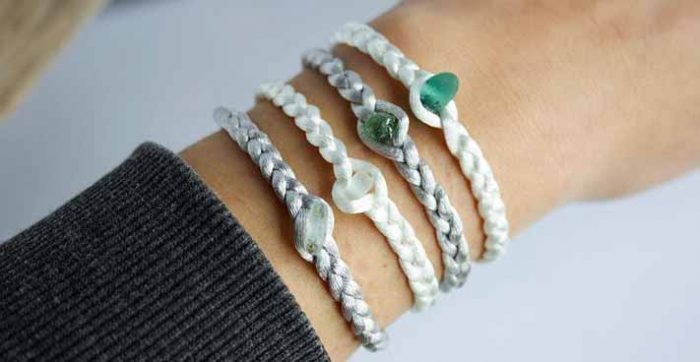
There’s nothing like a little color to spice up a wardrobe. That’s what these bungee cord bracelets will do for you. I was inspired by bungee cord bracelets I saw in a magazine. Those cost around $20; but like most crafty people do, I said to myself, “I can make these.” I pitched my magazine to the side, and I pulled out a few not-so-worn bungee cords. Yes, I keep bungee cords. Doesn’t everyone?
Using the bungees, wire and glue I had on hand, I created my own version of a bungee bracelet without spending a dime. Of course I wanted more options; so I bought a few craft store findings and some twisted satin cord from the fabric store. Even if you have to buy supplies, your bungee bracelets should cost less than $6 each, and you can make one in about 25 minutes or less.
Materials
- Bungee cords – Buy a multicolor pack from a dollar store.
- Glue – I like E600 because it glues anything to anything. If you don’t want to spend the extra cash, use your favorite beading glue.
- Wire – 16 or 20 gauge wire from a craft or hardware store.
- Twisted satin cord- (Optional) Thick satin cord from a fabric store home décor or trim section. It will give your bracelet a dressier look.
Tools
- Round nose pliers
- Needle nose pliers
- Wire cutters
Make Your Bungee Cordor Satin Cord Bracelet
- Cut two 7 inch wire pieces for each bracelet.
- Cut a bungee or satin cord piece that’s your wrist size less 1 and 1/2 inches.
- The hook and eyes will add some additional length.
- Coil two wire “tubes” using round nosed pliers.
- If you have difficulty making a wire “tube” with round nose pliers, coil the wire around a dowel rod or ink pen barrel that’s the same size as your bungee.
- Use a pair of pliers to bend back the top coil of your wire tubes to a right angle.
- This will create a loop at one end.
- Add a little glue to the ends of your cord.
- Let the glue dry a little.
- Insert the cord ends into the un-looped ends of the coiled tube.
- The cord will slip into the tube more easily if you rotate while pushing.
- Use your pliers to tighten the bottom coil of the wire tubes to for extra holding power.
- Add a wire figure 8 to each end. See “Make a Wire Bracelet Even a Grandma Could Love” for the instructions.
- Add a wire shepherd’s hook clasp. The above article also has clasp instructions.
- See “Simple Hearts” Wire Earrings” for instructions to make wire heart charms.
Make Your Bracelet With Craft Store Findings
- The bracelet I created with bead caps was even easier than the wire version. I found a prepackaged findings set that included jump rings and an extension chain, so assembly was simple and quick.
- Add glue to each of end the bungee cord or satin cord.
- Allow glue to dry a little.
- Push cord ends into the bead caps, rotating while pushing makes it easier.
- If you can’t find a findings set like I did, buy bead caps, jump rings and a clasp separately at a bead or craft store.
Your bungee cord bracelets will add a hint of fanciful color when you wear jeans or casual. Your twisted satin cord bracelet will work with just about any outfit. Make longer versions of either style for quirky, funky, colorful bungee cord necklaces.