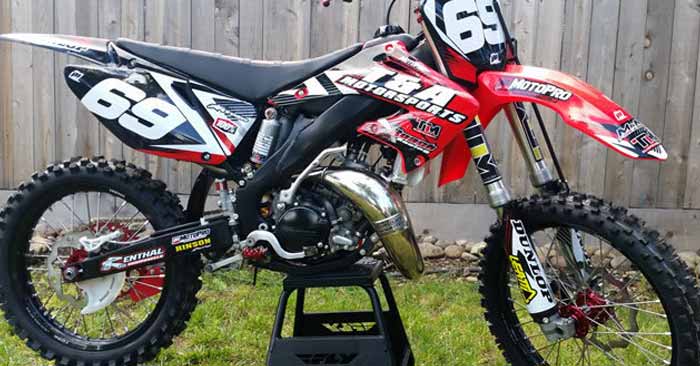
There have never been so many options to personalize the look of your dirt bike including graphics and screens in all colors and designs. The easy and fun part is to select which graphics you want.
How to set up dirt bike graphics
Here are their step-by – step instructions for using graphics easily and to ensure that your graphics stick and stay.
Dry installation
- Clean your work surface, hands and plastics. Remove your machine from the front and back, dirt, oil, old adhesive and anything else.
- Trim the paper back around the perimeter as close as possible to the graph prior to application (without cutting the graph). Remove the paper back of the vent and the bolt hole from inside. Check the plastic alignment of troughs, winds, curves and edges of the graph.
- Peel off the backing half and take care not to let dust or scrap on the adhesive side. Cut the center back for side plates horizontally or for front plates vertically. Cut a half-inch strip from the half of the support removed. The rest of the backrest is applied to the graph, and lined with hole and edge.
- Do not stick the center strip while you align the graph with the plastic. When properly aligned, apply the center strip of the graph to the plastic. See www.ebay.com/usr/decallaboratory for more info.
- Remove the paper back from half, hold the graph away from plastic. Slowly apply the bubbles of air and wrinkles by sliding one finger back and forth through the graph. Heat can be applied with a heat pistol or hairdryer to remove air bubbles and wrinkles during this process.
- Remove the back of the paper from the other half and use the graph described in step 4. Repeat instructions for all graphics remaining.
Moisture Installation

- Clean your work surface, hands and plastics. Clean your machine from the front and back, old adhesive, oil, dirt, and anything else.
- Trim the paper back around the perimeter as close as possible to the graph prior to application (without cutting the graph). Remove the paper back of the vent and the bolt hole from inside. Check the plastic alignment of troughs, winds, curves and edges of the graph.
- Sprinkle a fine mist of fluid on your plastic.
- Remove the back paper from the deck and keep it free of dirt, dust and debris on the adhesive side. Sprinkle the adhesive side with a thin mist of fluid.
- Apply the decal lightly to the plastic while bolt holes and vent hole are lined.
- Once all other things are correctly aligned, start from the center and use a squeegee to move the application liquid to the plastic edge.
- You can add heat with a heat gun or a hair dryer to accelerate the drying process while the squeegee process continues. Heat will also help to make bubbles and wrinkles smooth.
- Use a clean, dry cloth to wipe off the excess fluid around the plastic ‘s edge.
- You should not drive your bike or quad for at least 24 hours to ensure the correct adhesion of the decal.